Guide
How to Shape Sourdough: Boule and Batard, Step by Step
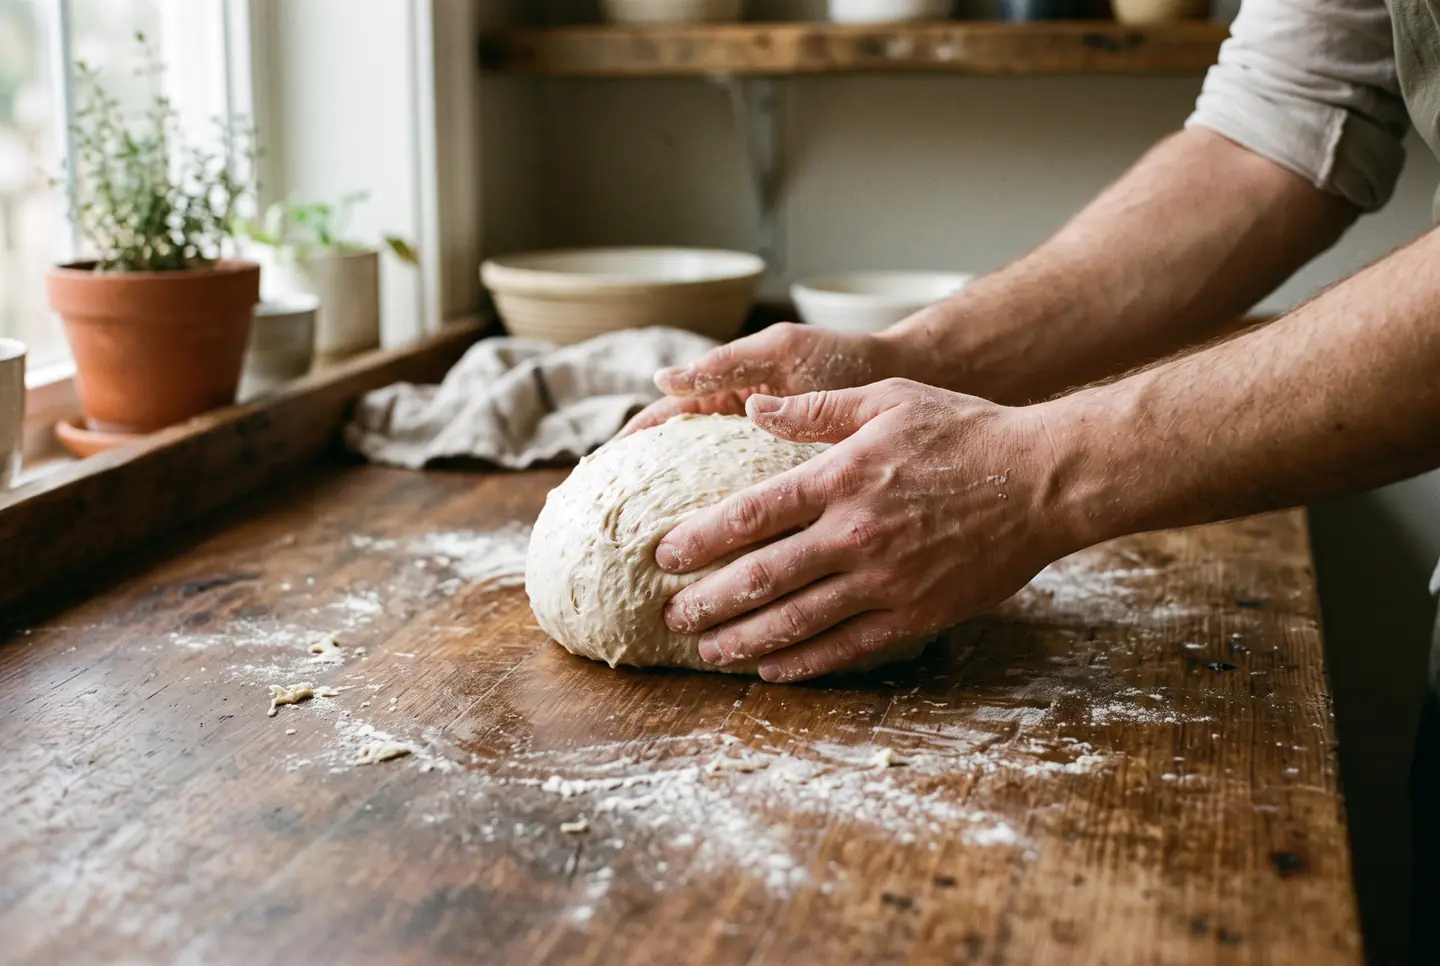
Shaping a sourdough loaf means building a taut skin of surface tension around the dough so that, as it proofs and bakes, it holds itself tall instead of flowing sideways. You do it in three moves: a loose pre-shape, a short bench rest, then the final shape into a round boule or a long batard. The whole thing takes a couple of minutes once you know the motion, and it is the step that most decides whether a loaf rises up or spreads out.
The single idea underneath every technique is friction. When you drag the dough across a bare counter, the bottom grips the surface just enough to stretch the skin tight over the top, and that tension is what the oven spring pushes against. This guide sits inside the complete sourdough bread guide, where shaping is the handover between the first rise and the cold night in the fridge; here we slow the motion down and cover how to know you have it right.
Pre-shape, rest, shape
Shaping is not one action but three, and skipping the middle one is why so many loaves come out slack. The pre-shape rounds the dough loosely and organises it; the bench rest lets the gluten relax so it stops fighting you; the final shape builds the real tension that carries into the bake.
| Step | What you do | How long | The point |
|---|---|---|---|
| Pre-shape | Turn and pull the dough into a loose, rough ball with a little surface tension, not a tight one | seconds | Organise the dough and give it a shape to relax from |
| Bench rest | Leave the round uncovered on the counter | 20 to 25 minutes | Let the gluten relax so the dough is extensible again (The Perfect Loaf) |
| Final shape | Tighten into a boule or batard with a sealed seam | under a minute | Build the surface tension that holds the loaf tall |
The pre-shape is deliberately loose. If you tighten it fully now, the dough will be so tense after the rest that the final shape tears it. Aim for a round that holds together and has just started to hold its own edge. After 20 to 25 minutes uncovered, it should have relaxed and spread slightly without going completely flat; if it is a puddle, your dough was under-strong or over-fermented, not badly pre-shaped.
Boule or batard
Both shapes start from the same pre-shape and bench rest, and both are finished on a lightly floured or bare counter. The difference is only the motion at the end.
A boule is round. Cup both hands around the far side of the dough and drag it toward your body in short quarter-turns, letting the bottom catch on the counter so the skin pulls tight over the top. A few turns and you have a smooth dome with a puckered seam underneath where the surface has gathered.
A batard is a long oval. Pat the dough into a rough rectangle, fold the top third down to the middle and press to seal, then fold the bottom third up over that and seal again, stretching gently as you go. Roll it seam-side down and cup your hands over it, dragging it toward you to tension the length and taper the ends. A batard is the easier shape to get tall from a slacker dough because the folds build a spine of tension down its middle.
The friction rule
This is the part most guides leave out, and it is the one that fixes more flat loaves than any other. You build surface tension with friction, and flour kills friction. If you flour the counter before the final shape, the dough slides instead of gripping, no skin forms, and the loaf spreads no matter how many turns you do.
So flour only the top of the dough, the part that will touch your hands, and keep the counter bare where the dough drags. If the dough sticks to your hands, dust your hands, not the bench. The only time flour goes on the work surface is a very light dusting for a dough so wet it tears, and even then, less than feels comfortable. A bare counter and a floured-top round is the setup that lets a boule tighten itself in three drags.
How to tell the tension is right
You are aiming for a specific feel, not a number of turns. After the final shape, poke the taut skin gently with a floured finger: it should feel like a filled balloon, firm and springy, and the dent should ease back slowly. If the surface is slack and the dent stays, there is not enough tension; give it another turn or two. If the skin tears or blisters as you shape, you have over-tightened, and a torn skin lets gas escape in the oven just as surely as no tension does.
The two failures are opposite, and knowing which you have tells you what to change next time. A loaf that baked flat and wide was shaped too loose, or on a floured counter. A loaf that stayed small and tight, or tore along a seam, was shaped too hard.
Match the tension to the dough
How tight to shape depends on how wet the dough is and how far it fermented. A wetter dough, above roughly 75 percent hydration, is harder to tension and easier to tear, which is one good reason to learn the motion nearer 70 percent while you build the habit. A dough that fermented fully is delicate and wants a lighter hand; one shaped a touch under-fermented can take, and benefits from, a firmer shape because it still has rising left to do.
Once shaped, set the loaf seam-side up into a floured banneton so the smooth, tensioned skin faces down and the seam stays on top, where it will end up on the bottom of the baked loaf. Rest it on the bench a few minutes first so the seam seals, then it goes to the fridge. What the cold does next, and how long to leave it, is its own decision covered in the guide to the cold retard at 12, 24 and 48 hours. Shaping well also depends on a dough that was built right in the first place, through the stretch and folds during bulk fermentation; no shaping motion rescues a dough with no strength in it.
Frequently asked questions
Do I need to pre-shape sourdough? For a single loaf you can shape in one go, but the pre-shape and bench rest make the final shape far easier, because the rest relaxes the gluten so the dough stretches instead of fighting back. For anything above about 70 percent hydration it is worth the extra 20 minutes.
How long should the bench rest be? About 20 to 25 minutes, uncovered, so the pre-shaped round relaxes and spreads slightly. If it flattens completely, the dough was over-fermented or too weak, not rested too long.
Why does my sourdough spread out flat after shaping? Almost always too little surface tension, and the usual cause is flouring the counter. Flour kills the friction that builds the skin, so shape on a bare counter and flour only the top of the dough.
Boule or batard, which is easier for a beginner? A batard is often more forgiving of a slack dough because the letter-fold builds a spine of tension, but a boule needs fewer moves. Learn the boule first on a firmer dough, then move to the batard.
Should the dough go seam-side up or down in the banneton? Seam-side up. The smooth, tensioned skin faces down into the basket and becomes the top of the loaf when you turn it out to bake, and the seam ends up underneath.
How do I know if I have shaped it tightly enough? Poke the surface with a floured finger: it should feel taut like a filled balloon and spring back slowly. A slack surface that stays dented needs more tension; a skin that tears means you went too far.
Where I checked
Keep reading
 Guide
Guide
Bagel Dough: Why It Is So Firm, and How to Knead It
Bagel dough feels stiff and dry on purpose. Here is why it runs at 50 to 60% water and high protein flour, how to knead it, and the windowpane to aim for.
6 min read Guide
Guide
Bagel Recipe: New York Style, Step by Step
A weight-based New York bagel recipe, step by step: the firm 58% dough, an overnight cold retard, how long to boil, and the oven heat that sets a glossy crust.
6 min read Complete guide
Bagels: The Complete Guide
Make a real bagel at home: the firm 58% dough, why bagels are boiled before baking, New York vs Montreal, sourdough and gluten free, and how to fix flat ones.
18 min read