Guide
Roti Proofing: Resting Dough and Knowing When to Cook
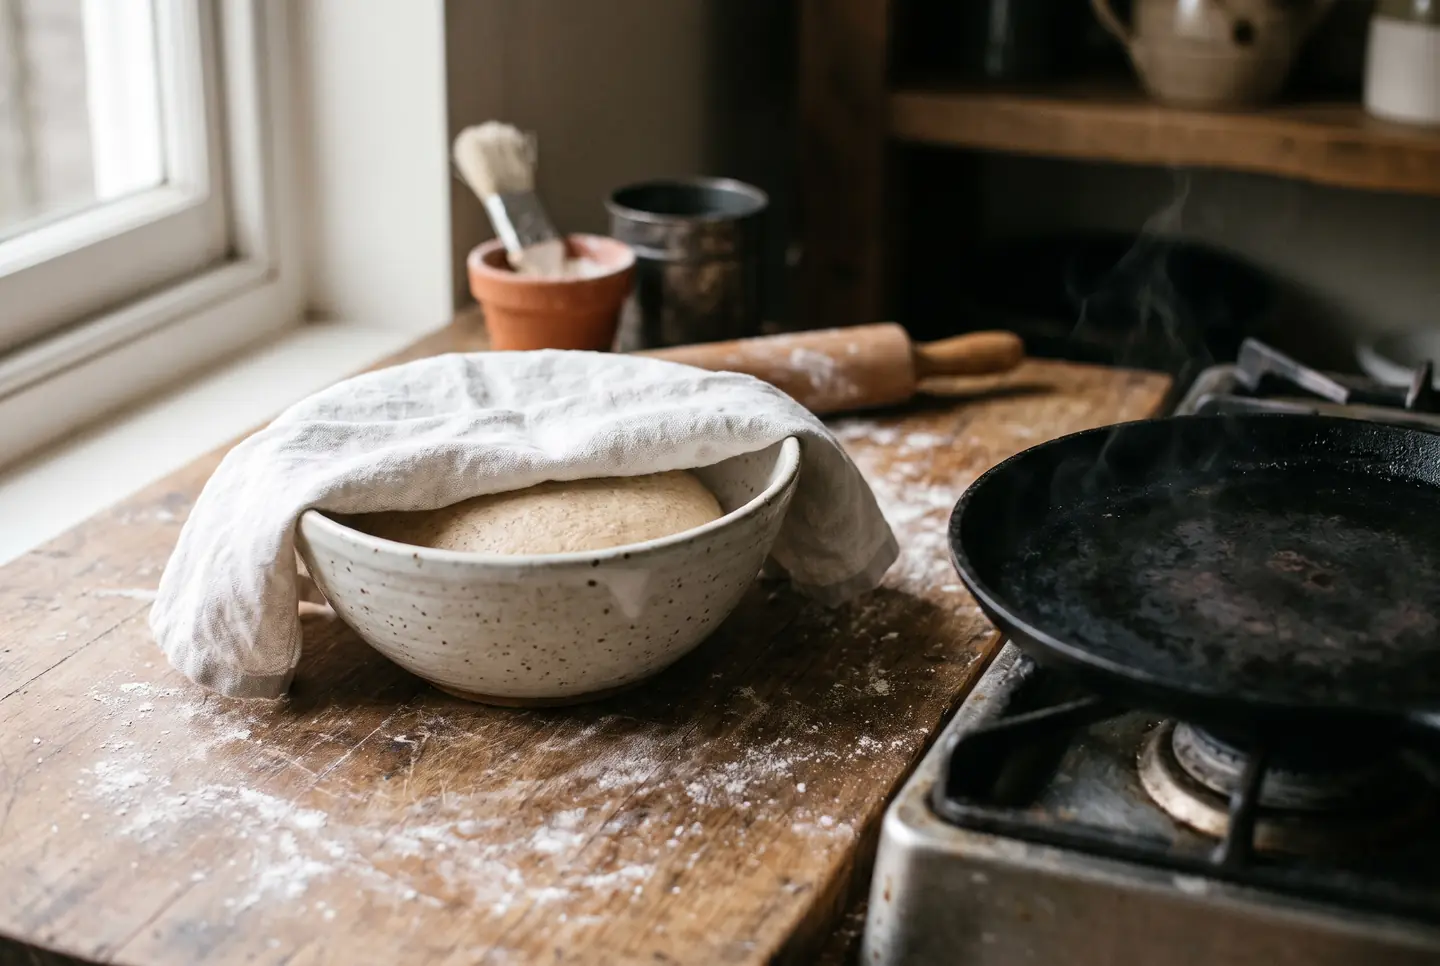
Roti has no yeast, so there is nothing to proof in the bread sense. "Roti proofing" really means resting: after kneading, you cover the dough and leave it alone so the flour can hydrate and the gluten can relax. The dough does not grow, and you should not wait for it to.
Most recipes ask for a rest of 20 to 30 minutes, and some prefer an hour or more. Past the rest, "knowing when to cook" is a different skill: it is read on the griddle, from bubbles, dry-looking tops and brown spots, not from the dough in the bowl. This page covers both. For the whole bread from flour to flame, see the complete roti guide.
Why roti dough rests instead of rising
Proofing in a loaf of bread is fermentation: yeast eats sugars, releases gas, and the dough swells. Roti is only atta (whole wheat flour), water and, in some recipes, a little salt or oil. No yeast, no gas, no rise. If you wait for the dough to puff up like a bread dough, you will wait forever.
What happens during the rest is quieter. Atta carries a lot of bran, and bran takes up water slowly, so the dough keeps drinking from the first minutes after mixing. At the same time the gluten, which tightens as you knead, relaxes. A relaxed dough rolls out thin without springing back.
Skip the rest and you feel it at the rolling pin. The disc shrinks back as you roll, and it tears more easily when you lift it. Cook with Manali says the rest makes rolling easier and the rotis much better.
How long to rest the dough
The sources do not agree on one number, and they do not have to. They agree on the idea, and differ on how generous to be with the time.
| Source | Rest | How to cover | Notes |
|---|---|---|---|
| Cook with Manali | 20 to 30 minutes | Damp cloth or damp paper towel | Rest after kneading; makes rolling easier |
| The Curious Chickpea | At least 30 minutes, ideally more than 1 hour | Covered | Can sit for several hours at room temperature |
| This site's roti guide | 20 to 30 minutes, 10 as the minimum | Damp cloth | The short rest is enough for same-day roti |
So the range runs from 20 to 30 minutes up to more than an hour. A reasonable way to choose: if you are cooking now, take the 20 to 30 minutes. If you can plan ahead, a longer rest is allowed by the second source and makes the dough more relaxed. Ten minutes is the floor for this site, for a hungry evening, but the dough will push back a little more at the pin.
The rest is also where you can split the work. Knead in the morning, roll in the evening, as long as the dough stays covered.
Covering the dough so it does not dry out
The cover has one job: keep the surface from forming a dry skin. A dry crust on the dough turns into hard flecks in the finished roti and makes cracks when you roll.
Cook with Manali covers the dough with a damp cloth or a damp paper towel. The Curious Chickpea simply asks you to cover it, and says it can wait several hours at room temperature. A bowl with a damp cloth over the top, or a lid, does the job. If you have already cut the dough into balls, keep the ones you are not working on covered as well, as shown in how to shape roti.
Making the dough ahead
If you want to cook another day, the dough keeps. The Curious Chickpea stores it for 1 to 2 days in a closed container in the fridge. The one thing to remember is the way back: let it return to room temperature before rolling. Cold dough is stiff and springs back, which is exactly what the rest was meant to prevent.
| Plan | What to do | Before rolling |
|---|---|---|
| Cook soon | Cover and rest 20 to 30 minutes | Roll right away |
| Cook later today | Cover and leave at room temperature, several hours is fine | Roll when ready |
| Cook tomorrow | Closed container in the fridge, 1 to 2 days | Bring back to room temperature first |
If the dough itself needs work, the kneading and water balance are in how to make roti dough.
Is it rested? What the dough tells you
There is no rise to watch, so use your hands. A rested dough feels softer and more elastic, less tight than just after kneading. Press it with a finger: it should give and spring back slowly, and the surface should feel smooth rather than dry.
The real test comes at the pin. If a ball rolls out without fighting you, it was rested enough. If it keeps shrinking back, cover it and give it a few more minutes, then try again. Resting is forgiving: more time rarely hurts, as long as it stays covered.
Knowing when to cook: signs on the griddle
Here is the second meaning of "proofing" people search for: not the dough, but the roti on the pan. The griddle gives clearer signals than the dough ever did, and the two sources describe them in slightly different ways.
Cook with Manali
- The first side cooks for 15 to 30 seconds, until bubbles appear on top.
- Flip, and the second side takes about 30 seconds more.
- It is done when brown spots appear, without burning.
- An evenly rolled roti puffs over a direct flame, and you flip it with tongs.
- With no flame, the roti forms bubbles in about 30 seconds. Press it with a cloth or spatula to make it inflate.
The Curious Chickpea
- Cook the first side until the top of the dough starts to look dry, then flip.
- Cook the second side until light brown spots appear.
- Flip again and brown until you see darker spots.
- Press with a cloth or spatula to help it puff.
| Signal on the pan | What it means | What to do |
|---|---|---|
| Bubbles on top | First side is set | Flip |
| Top looks dry instead of wet | First side is set | Flip |
| Light brown spots | Second side is cooking well | Flip again if the recipe calls for it |
| Darker spots, not burnt | Roti is done | Take it off |
| Puffs up | Even rolling and good heat | Press gently with a cloth to finish |
Notice that the cues are visual first, and the seconds are a guide. A pan that is hotter or cooler than the recipe's will change the clock, and the bubbles and spots stay the same.
When it does not puff or comes out hard
Two common problems link back to resting and cooking.
A roti that will not puff is often not rolled evenly, according to Cook with Manali, whose evenly rolled rounds inflate over a flame. The dough rest helps here too, because a relaxed dough rolls out more evenly. Pressing with a cloth or spatula, as both sources suggest, helps a stubborn one.
A roti that turns out tough or leathery has usually been left on the pan past the spots, or came from a dough that was not rested and rolled out unevenly. Pull it when the brown spots appear, as the first source says, and before they turn to burnt patches. For the full method with quantities, see the roti recipe.
Questions
Do you proof roti dough?
Not in the sense of bread. Roti has no yeast, so nothing rises. What people call proofing is a rest: covering the kneaded dough so the flour hydrates and the gluten relaxes before you roll.
How long should roti dough rest?
Cook with Manali rests it for 20 to 30 minutes, and The Curious Chickpea says at least 30 minutes, ideally more than 1 hour. This site's guide suggests 20 to 30 minutes, with 10 as the minimum.
Can I leave roti dough overnight?
You can keep it for 1 to 2 days in a closed container in the fridge, according to The Curious Chickpea. Let it come back to room temperature before you roll it, or it will be stiff and springy.
What happens if I skip the rest?
The dough fights you. It shrinks back when rolled and tears more easily, and the finished roti is less soft. Resting is what makes rolling easier.
How do I know the roti is ready to flip?
Look for bubbles on top, or a top that looks dry instead of wet. Cook with Manali flips after 15 to 30 seconds on the first side, when bubbles show. The Curious Chickpea flips when the top starts to look dry.
Why is my roti not puffing?
Usually uneven rolling, so the steam escapes instead of inflating it. Roll to an even thickness, rest the dough, and press the roti gently with a cloth or spatula while it cooks.
Cover the bowl, go and set the table, and let the flour do its quiet work. By the time you come back, the dough will have done the proofing you were looking for.
Where I checked
Keep reading
 Guide
Bagel Dough: Why It Is So Firm, and How to Knead It
Bagel dough feels stiff and dry on purpose. Here is why it runs at 50 to 60% water and high protein flour, how to knead it, and the windowpane to aim for.
6 min read Guide
Bagel Recipe: New York Style, Step by Step
A weight-based New York bagel recipe, step by step: the firm 58% dough, an overnight cold retard, how long to boil, and the oven heat that sets a glossy crust.
6 min read Complete guide
Bagels: The Complete Guide
Make a real bagel at home: the firm 58% dough, why bagels are boiled before baking, New York vs Montreal, sourdough and gluten free, and how to fix flat ones.
18 min read