Guide
Roti Recipe: Soft, Puffed Roti, Step by Step
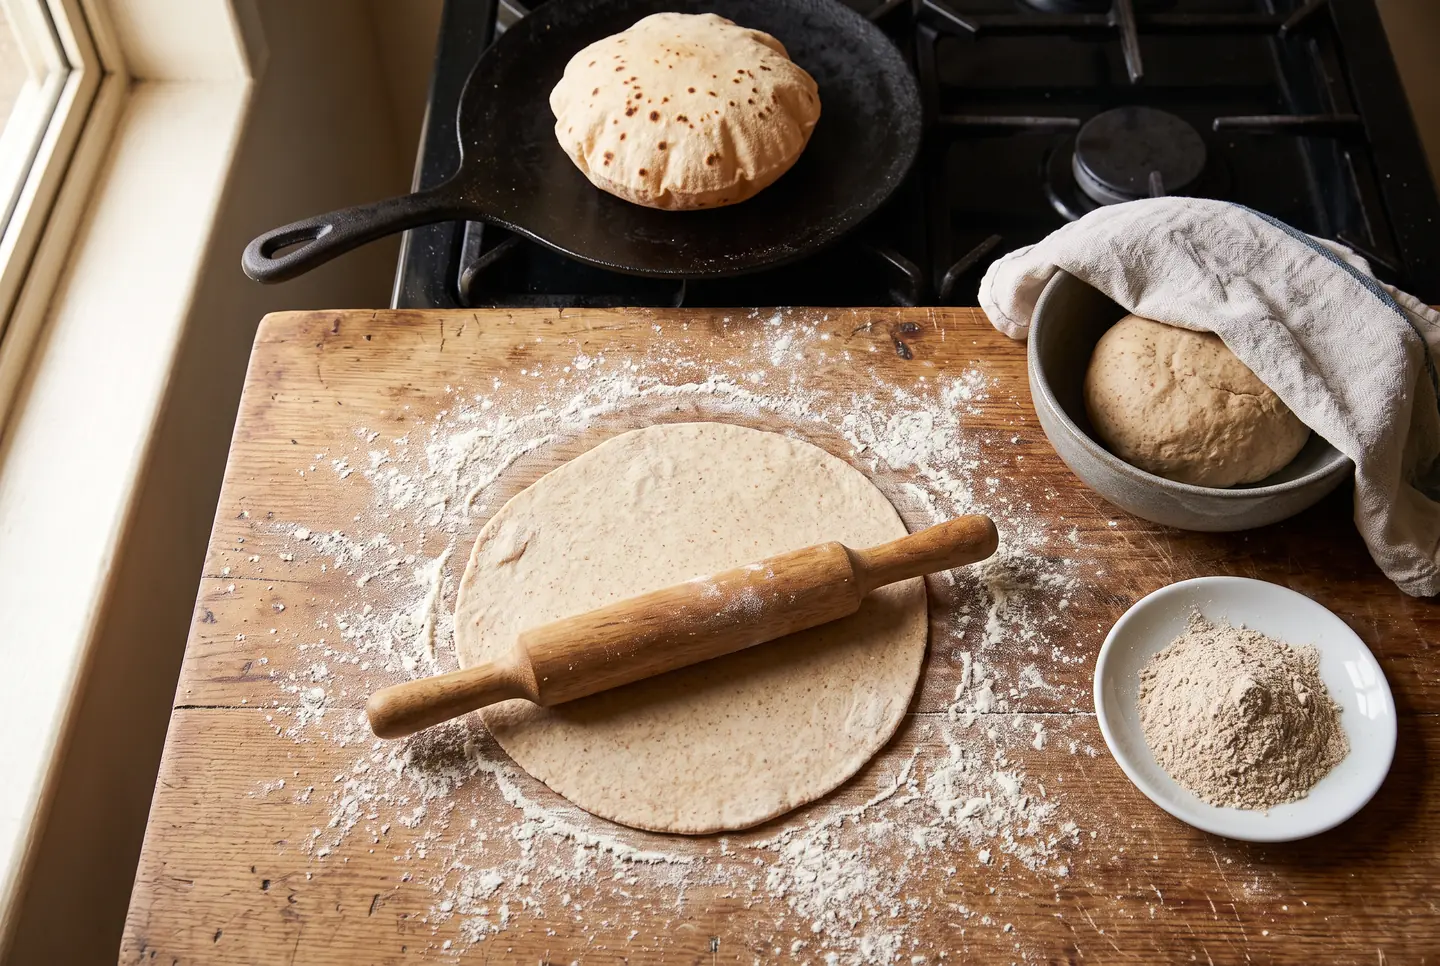
A roti is atta, water and a pinch of salt, rested for about twenty minutes, rolled thin and cooked on a hot dry pan until it puffs. That is the whole recipe. You need no yeast, no oven and no overnight wait, and from a standing start you can have a stack of soft rotis on the table in under an hour.
This page is the make-it version of the complete roti guide. Here we stay with the base recipe: the weights, the order of the steps, the timings, and what to do when a roti refuses to puff. If you want the why behind each lever, the guide has it.
Ingredients
This makes about 8 rotis, enough for two or three people as a side.
| Ingredient | Amount | Note |
|---|---|---|
| Atta (stoneground whole-wheat flour) | 250 g, plus a little for dusting | Sold in Indian groceries and many supermarkets |
| Water | about 170 to 200 g, room temperature | Add it gradually, flours differ |
| Fine salt | 2 g (a pinch to 1/4 tsp) | Optional but recommended |
| Oil or ghee | 1 tsp, optional | Softens the dough slightly |
| Ghee or butter | For brushing, optional | Brush on right after cooking |
For a sense of range, two well-known recipes use different amounts of water for the same kind of flour: Cook with Manali uses about 195 ml of water for 270 g of atta, and Tea for Turmeric uses 227 g of water for 280 g of atta. That is roughly 70 to 80 percent of the flour weight. Start at the low end and add water until the dough is soft, because the right amount depends on how thirsty your atta is.
Step 1: Mix and knead the dough
Put the atta and salt in a bowl. Add the water a little at a time, mixing with your fingers, until the flour comes together into a shaggy mass. Then knead for four to five minutes, pushing the dough away from you with the heel of your hand and folding it back.
You want a dough that is soft and pliable, one that holds a fingerprint when you press it. If it cracks at the edges or feels tight, wet your hands and knead in another teaspoon or two of water. If it sticks to your hands and the bowl, work in a spoonful of atta.
| What you feel | What it means | Fix |
|---|---|---|
| Crumbly, cracks when pressed | Too dry | Add water, 1 to 2 tsp at a time |
| Smooth, soft, takes a fingerprint | Right | Move on |
| Sticks to hands and bowl | Too wet | Add atta, a spoonful at a time |
Rub a few drops of oil over the finished ball if you like. It keeps the surface from drying while it rests.
Step 2: Rest the dough
Cover the dough with a damp cloth and leave it for 20 to 30 minutes at room temperature. Both recipes above rest the dough, and the range they give is 10 to 30 minutes, with longer being fine. The rest relaxes the gluten, so the dough rolls thin without snapping back at you. If your rounds keep shrinking as you roll, the dough needs another ten minutes.
You can also rest it far longer. Wrapped well, the dough keeps in the fridge for a day or two (Tea for Turmeric allows up to three days). Let it come back close to room temperature before rolling, since cold dough rolls stiff and puffs poorly.
Step 3: Divide and roll
Knead the rested dough for a few seconds, then divide it into 8 equal pieces of roughly 40 g each. Roll each piece into a smooth, crack-free ball between your palms.
Flatten a ball into a disc, press both sides into a saucer of dry atta, and roll from the center outward. Give the round a quarter turn every few strokes. The turning keeps the circle round and the thickness even.
Aim for a thin, even round about 15 to 18 cm across. The even part matters more than the size: a roti that is thick in the middle and thin at the edge puffs at the rim and stays raw in the center, and uneven rolling is the most common reason a roti will not puff. Use as little dry flour as you can get away with, and shake off the excess before the roti goes in the pan. Loose flour scorches and dries the surface.
Step 4: Cook and puff
Heat a tawa or any heavy flat pan over medium-high heat until it is properly hot. The first roti always suffers if the pan is not ready, so give it a couple of minutes.
| Stage | What you do | What you see |
|---|---|---|
| First side | Lay the roti down, cook 15 to 30 seconds | The wet sheen goes, small bubbles appear |
| Second side | Flip and cook about 30 seconds | Pale brown specks appear |
| The puff | Move to direct flame (gas), or flip again and press (electric, induction) | It balloons within seconds |
| Finish | Flip once more if any spot looks raw | Light brown specks, no dark char |
On gas: lift the roti with tongs and hold it, first side down, over the open flame. It should inflate within a few seconds. Flip it once if needed, then take it off. A roti puffed this way is a phulka.
On electric or induction: after the second side has specked, flip the roti and press gently on the flat areas with a folded cloth or a spatula. The steam has nowhere to go but into the pocket, and the roti lifts.
The moment it puffs, it is done. Pull it off, brush it with ghee if you like, and stack it in a cloth-lined container with a lid. The stack stays soft because the rotis steam each other gently.
When the roti does not puff
| Problem | Likely cause | What to change |
|---|---|---|
| Stays flat | Rolled unevenly, or the dough is too stiff | Roll with a quarter turn every few strokes, add a little water to the next batch |
| Hard and leathery | Pan too cool, cooked too long, or not rested | Preheat longer, cook faster, rest 20 minutes |
| Dark burnt patches | Pan too hot | Lower the heat a notch; dark specks mean too much heat |
| Cracks at the edge when rolling | Dough too dry | Knead in a teaspoon of water |
| Sticks to the pin | Too wet, or too little dusting flour | Dust lightly and keep going |
Storing and reheating
Keep cooked rotis wrapped in a cloth inside a lidded container for the day. Cook with Manali suggests wrapping them in foil and then a paper towel to prevent sogginess, and freezing them with a sheet of parchment between each roti. To reheat, sprinkle a few drops of water on a roti, cover it with a damp cloth and warm it briefly in the microwave, or toss it on a hot dry pan for a few seconds a side.
Questions
How much water do I need for roti?
Start with about 70 percent of the flour weight (170 g of water for 250 g of atta) and add more a teaspoon at a time until the dough is soft and holds a fingerprint. Recipes in the wild run from about 70 to 80 percent, depending on the flour.
Do I have to rest the dough?
Yes, at least 10 minutes and ideally 20 to 30. Without a rest the gluten fights the rolling pin and the roti comes out tough and uneven.
Can I make roti without a gas flame?
Yes. Flip the roti on the hot pan and press gently around it with a folded cloth or spatula. The steam inflates it the same way.
Can I use regular whole-wheat flour instead of atta?
You can, but coarser whole-wheat flour absorbs less water and tears more easily. Add water slowly, or cut it with a little white flour, until the dough turns soft.
What is the difference between roti and chapati?
In practice they are the same bread with two names. For the regional differences, see the roti guide.
Once the first stack puffs, the rest is just rhythm. Roll one while the last is on the pan, and the whole batch is done before the dal is.
Where I checked
Keep reading
 Guide
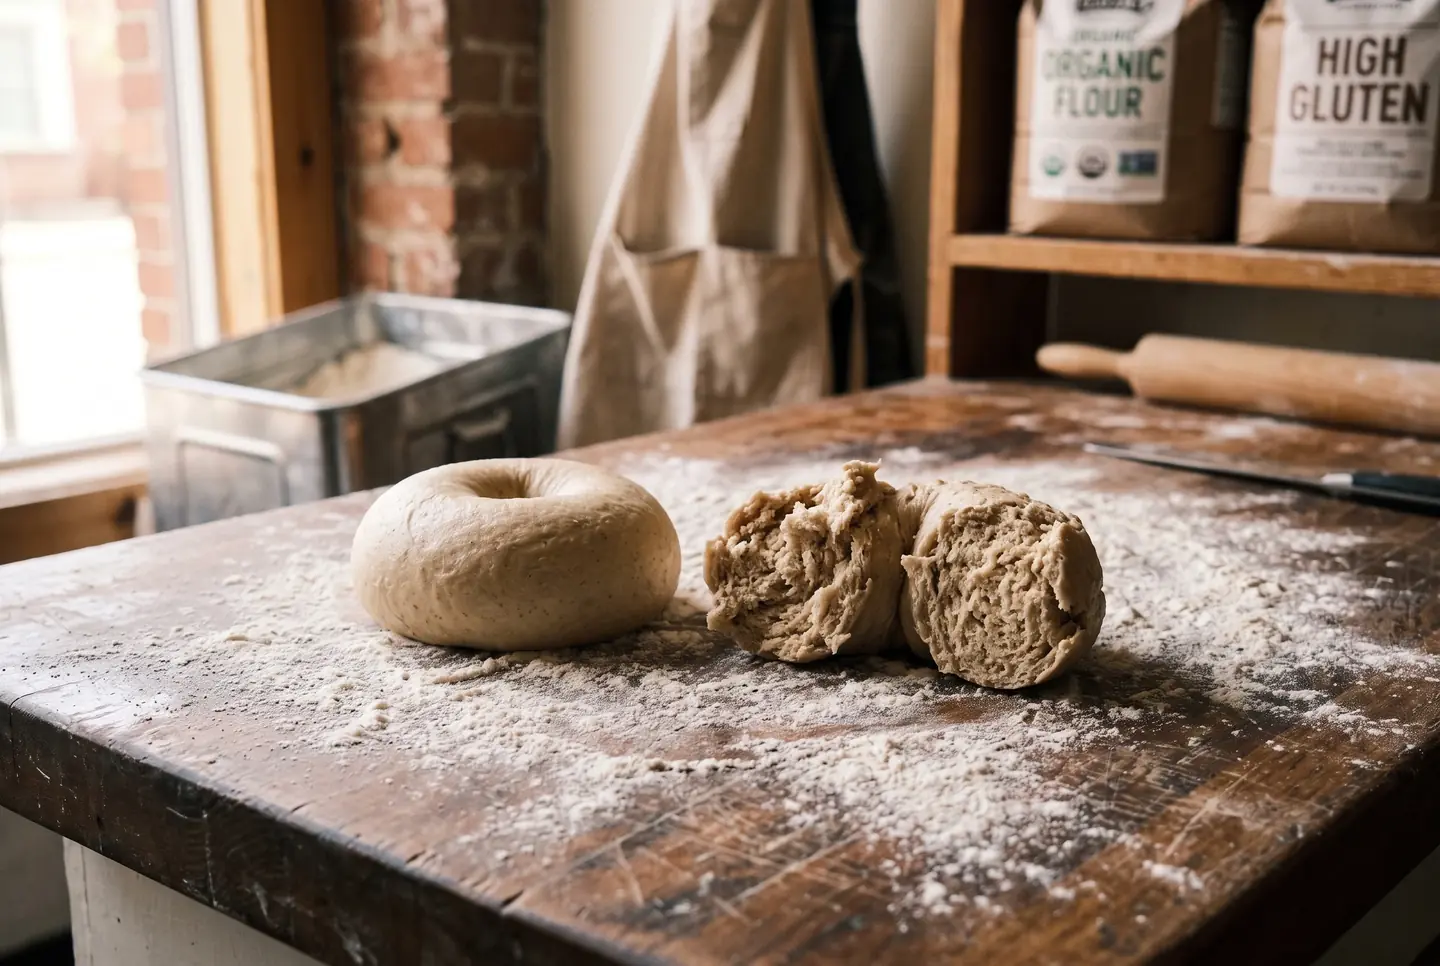
Bagel Dough: Why It Is So Firm, and How to Knead It
Bagel dough feels stiff and dry on purpose. Here is why it runs at 50 to 60% water and high protein flour, how to knead it, and the windowpane to aim for.
6 min read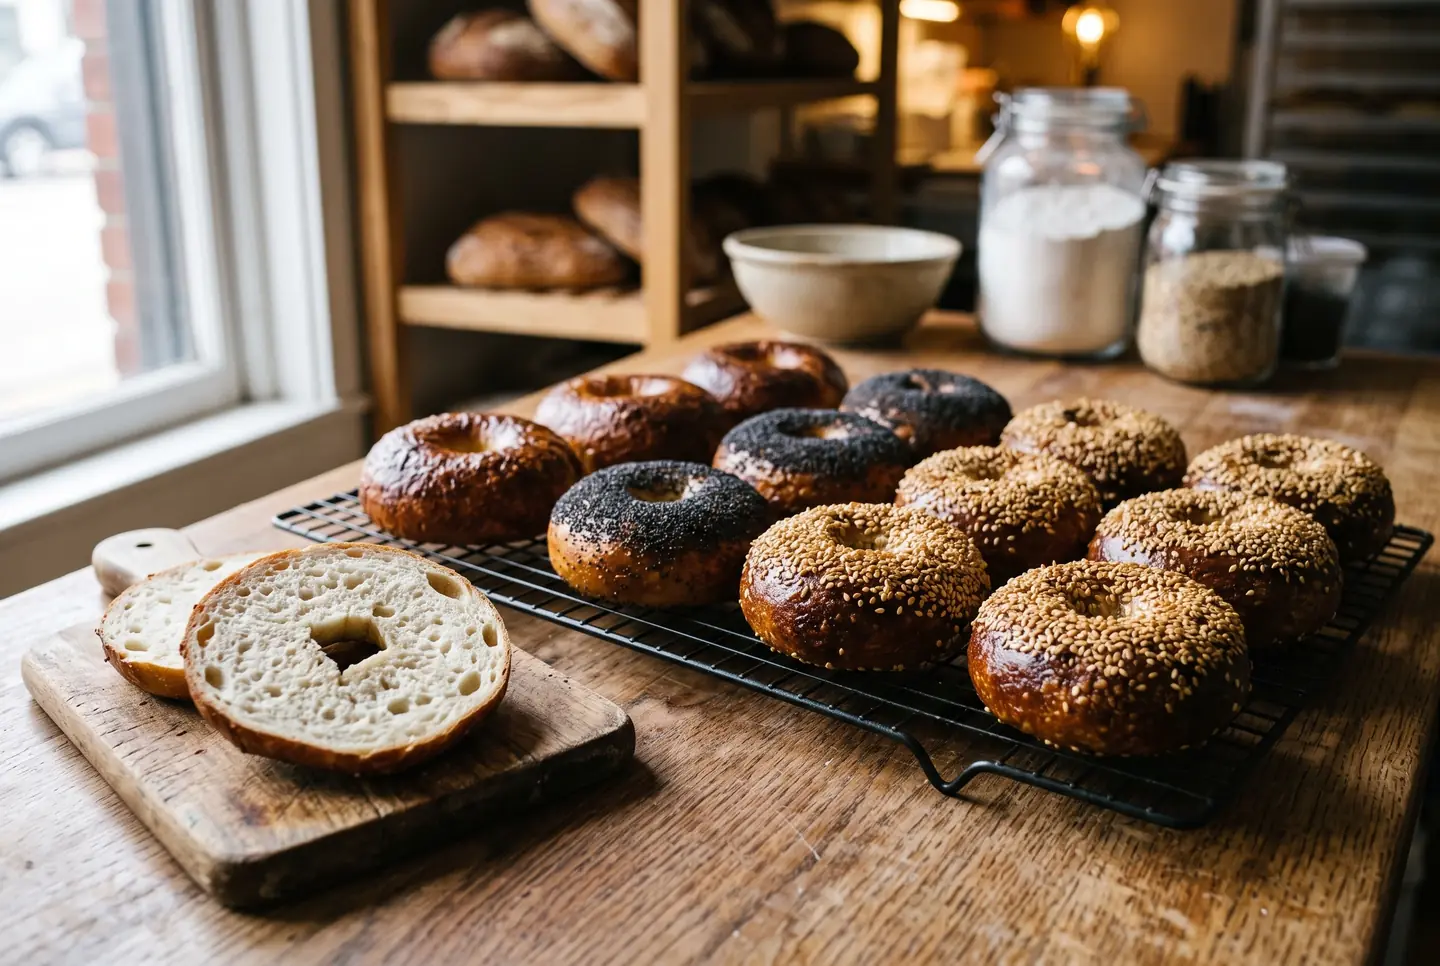 Guide
Bagel Recipe: New York Style, Step by Step
A weight-based New York bagel recipe, step by step: the firm 58% dough, an overnight cold retard, how long to boil, and the oven heat that sets a glossy crust.
6 min read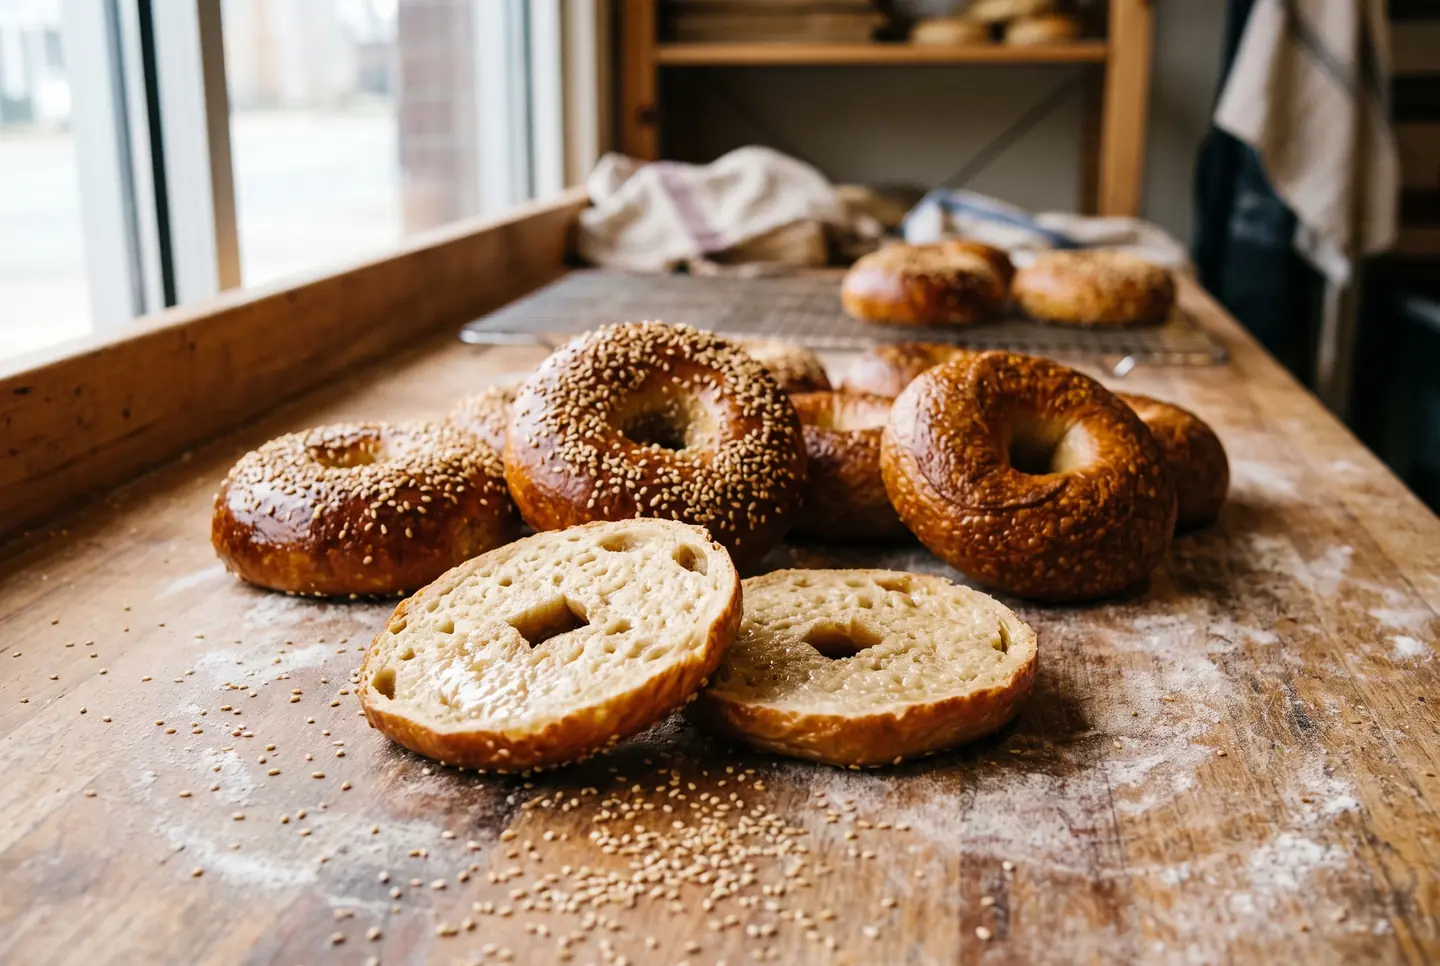 Complete guide
Bagels: The Complete Guide
Make a real bagel at home: the firm 58% dough, why bagels are boiled before baking, New York vs Montreal, sourdough and gluten free, and how to fix flat ones.
18 min read