Variation
Gluten-free bread: why swapping the flour is not enough (and the recipe that works)
Gluten-free bread is not ordinary bread with a different flour. Without gluten there is no network to hold gas, so the dough stops being a dough and behaves closer to a cake batter: wetter, mixed rather than kneaded, and baked in a tin.
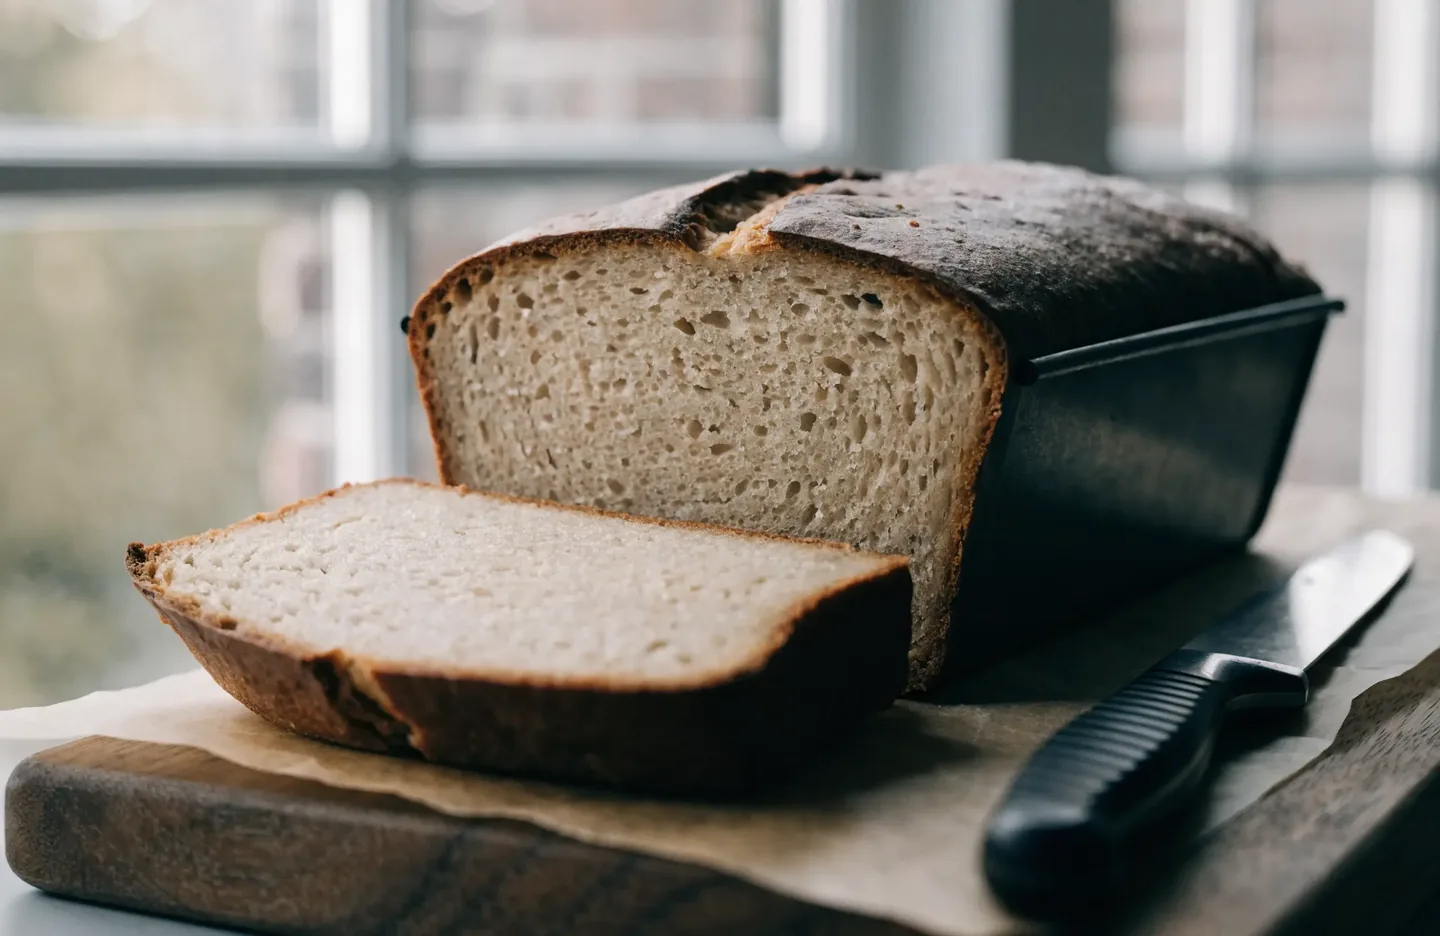
At a glance
- Hydration
- 85% to 110%
- Binder
- psyllium (3% to 8%)
- Oven
- 220 °C
- Steam
- yes
- Internal temperature
- not measured
- Difficulty
The flours that work
| Flour | What it does | How much |
|---|---|---|
| Rice (white or brown) | Neutral base, gives structure without its own flavour | 40% to 50% |
| Starch (potato or tapioca) | Keeps the crumb light and less gritty | 25% to 35% |
| Buckwheat or sorghum | Brings the flavour and colour of real bread | 15% to 25% |
| Psyllium husk powder | Replaces gluten: holds gas and water | 3% to 8% |
The recipe
Ingredients
| Amount | baker's % | |
|---|---|---|
| Rice flour | 200 g | 50% |
| Potato or tapioca starch | 120 g | 30% |
| Buckwheat flour | 80 g | 20% |
| Warm water | 380 g | 95% |
| Psyllium husk powder | 20 g | 5% |
| Olive oil | 20 g | 5% |
| Instant dry yeast | 7 g | 1.75% |
| Salt | 8 g | 2% |
| Honey or sugar | 10 g | 2.5% |
Method
- Stir the psyllium into the warm water and leave 10 minutes. It turns into a thick gel: that gel does the job gluten used to do. Always take the psyllium straight to the water: dry psyllium powder thickens very fast on contact with saliva and should never be swallowed on its own.
- In a large bowl, mix the three flours, the yeast and the salt thoroughly.
- Add the psyllium gel, the oil and the honey. Mix with a spatula for 2 minutes until even. DO NOT knead: there is no network to build here, and kneading only folds in air that will escape.
- Scrape into a greased 22 cm tin and smooth the top with a wet spatula.
- Let it rise 45 to 60 minutes somewhere warm, until it grows about 50%. Do not wait for it to double: without gluten it cannot hold that.
- Bake at 220 °C with steam for the first 15 minutes.
- Drop to 200 °C, remove the steam and bake another 30 to 35 minutes, until the centre passes 96 °C.
- Turn out and cool COMPLETELY on a rack before slicing, at least 2 hours. Cutting it warm leaves the crumb gummy, and that is the single most common gluten-free mistake.
Why swapping the flour is not enough
Before the recipe, the label. Rice flour, starch, buckwheat and sorghum carry no gluten by nature, but they are harvested, transported and milled on the same equipment as wheat and often arrive contaminated. In a survey published in the Journal of the American Dietetic Association, 7 of 22 naturally gluten-free grains and flours not labelled gluten free tested above 20 mg/kg, and the worst sample reached 2,925 mg/kg. For anyone with coeliac disease that is not a detail: buy only flour carrying a gluten free label or certification mark (the limit is 20 mg/kg under Codex Alimentarius and in the European Union), avoid bulk bins, and never use a board, tin, sieve or toaster that has touched wheat dough. If this is a preference rather than a diagnosis, the requirement does not apply.
Anyone with a known psyllium allergy should use the xanthan alternative described in the FAQ.
Gluten is an elastic network that traps the gas fermentation produces. Take the wheat away and that network simply does not form: no amount of kneading builds something that cannot exist. That is why almost every gluten-free recipe telling you to knead is copying the wrong gesture from another recipe.
The stand-in is psyllium, a fibre that gels on contact with water and takes over the structural job. It is the reason hydration climbs so high: 85% to 110%, against 60% to 80% in most wheat loaves. Much of that water is locked in the gel, not loose in the dough.
The other difference is the oven. Bake until the centre passes 96 °C. Pulling it early is what produces the heavy raw crumb that gives gluten-free bread its bad name.
What to expect
The crust is firmer and the crumb wetter than in a wheat loaf. That is a characteristic, not a fault.
It also stales much faster, because there is no gluten network holding moisture. It keeps far better sliced and frozen than sitting on the counter: take one slice at a time straight from the freezer to the toaster and it comes back almost intact. If someone in the house is coeliac, that toaster cannot be the one used for wheat bread.
Where it goes wrong
Mistake number one is cutting before it has cooled completely. In a wheat loaf cutting warm is bad; in a gluten-free loaf it is fatal, because the starch is still setting and the crumb collapses into a gummy texture that never recovers.
The second is waiting for the dough to double. Without gluten it rises about 50% and then falls. The third is using rice flour alone: with no starch and no flavour flour, the bread comes out gritty and dull.
Frequently asked
- Can I swap psyllium for xanthan gum?
- You can, but the result changes. Xanthan binds with less bulk and usually needs far less, around 1% to 2%. Psyllium holds more water and gives a softer crumb, which is why it wins for tin loaves.
- Can I bake it without a tin?
- You can, but it comes out flat. Without gluten the dough has no structure to hold itself up, so the tin does the job shaping would do in a wheat loaf. For a free-form shape, raise the psyllium to at most 8% of the flour weight and drop the water by the same amount.
- Can I use a sourdough starter?
- Yes, with a starter fed only on gluten-free flours. It ferments slower and brings flavour, but it does not solve structure: you still need the psyllium.
- Why is there a hole under the crust?
- Almost always over-proofing, or a top smoothed so hard it seals before the steam can leave. Smooth with a wet spatula without pressing, and do not let it go past 50% growth.